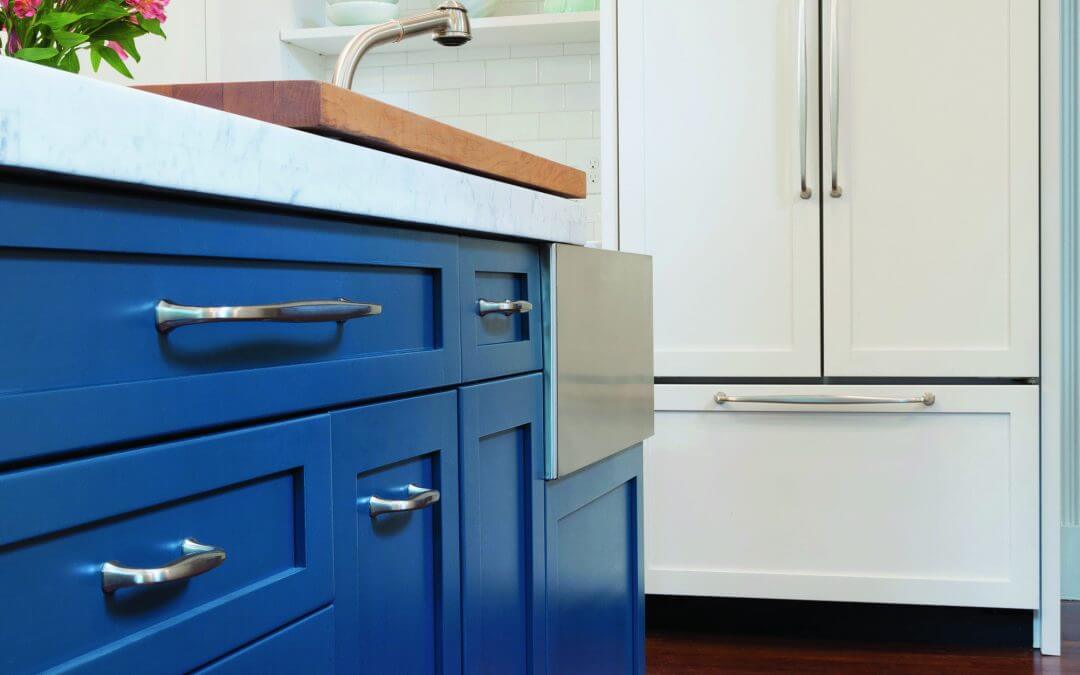
As a professional residential and commercial painting company serving Greater Boston, we are asked at least once a week to price a kitchen project. This used to mean a small and quick project – ceiling, minimal walls, maybe a few windows and a door or two. These days, however, kitchen projects almost always start with “I want to paint my cabinets.” Since a well built cabinet should last generations, painting your kitchen cabinets offers massive savings over replacing them.
Why Paint Your Kitchen Cabinets?
There are some good reasons to paint your kitchen cabinets. Since most kitchens include stained cabinets, this can effectively freeze your kitchen in time. Updating the colors in the rest of your home to remain contemporary, but allowing your kitchen to retain its cherry cabinets, may give the aesthetically-minded owner the equivalent of a style coronary.
Inevitable Wear and Tear
Wear and tear eventually shows up on the high use cabinet doors and drawers (e.g. beneath the sink, around the stove and fridge, etc.)
Stylish Hardware
Hinge and hardware envy – a quick visit to a friend’s new kitchen reveals soft close hinges and cool pulls.
New Appliances
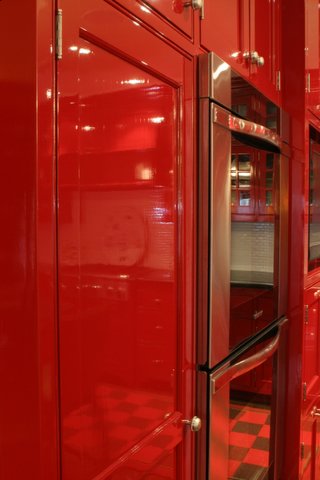
Appliance upgrades can drive style changes, too. Hiding a fridge behind applied cherry cabinets was de rigueur – now the fridge and other appliances take center stage as functional and stylish tools of the serious cook.
Regardless of your motivation, this quick and effective update of your kitchen cabinets can make a significant transformation in one of the most used and visited spaces in your home.
How to Paint Your Kitchen Cabinets
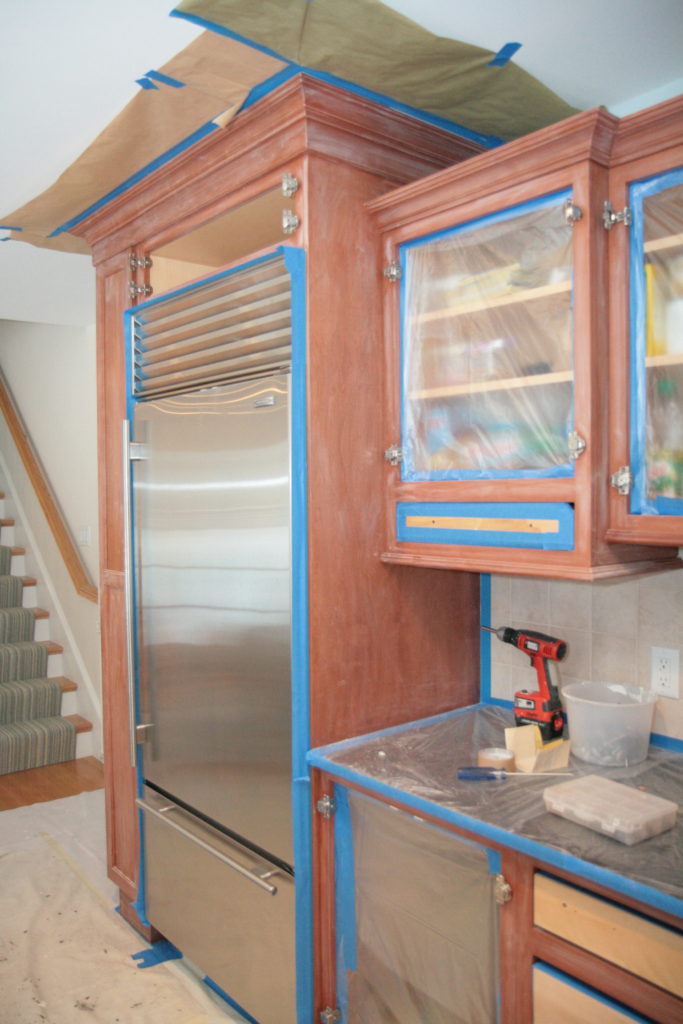
Once you’ve made the decision to paint, the process of properly painting kitchen cabinets requires multiple steps:
-
- Start by removing doors and drawer fronts
- Wrap the drawers and mask appliances (make sure the refrigerator motor is not starved of air when you protect it). Also, remember to protect your counters and flooring with waterproof and tearproof paper – you do not want a spill ruining your granite countertops or hardwood flooring!
- Thoroughly clean your cabinets to remove cooking fumes, old spills, etc.
- Sand with fine sandpaper to completely etch the existing finish so it looks flat
- Clean again
Prime with a high bonding primer. We like a water based product called Stix – it sprays and brushes well with virtually no odor
- Paint with a cabinet grade paint. At Catchlight Painting, we like Benjamin Moore’s Advance – a cabinet grade paint offers a harder and more durable finish than a typical trim paint
- Allow parts to dry before handling and reinstalling doors and drawer fronts
Et voila, a virtually new kitchen!
Pro Tips
- Be prepared to lose access to your kitchen for up to five days. If you need access to the sink or appliances during the project, make sure your painter is aware of this so they can build this into the proposal.
- You don’t have to empty your cabinets or drawers. The process generates essentially no dust and since the doors and drawers fronts are sprayed at a shop, there is very little surface area being painted in the actual kitchen.
- Skip the insides of your cabinets. This is typically a clear coated maple look or finish and little is accomplished painting the insides – it is a more complicated process which will double the price of your project and extend the time your kitchen is out of service.
- Know the difference between a spray and brush finish and declare your preference before you start the project. Spray delivers an automotive grade finish – completely smooth. Brush leaves a slight texture and can create a warmer look, but don’t expect a flawlessly smooth finish. The smallest of dust motes entering the painter’s bucket will become tangible texture in your brushed finish.
Nigel Costolloe is the president of Catchlight Painting, a full-service residential and commercial painter serving Boston. He is active regionally and nationally in the Painting and Decorating Contractors of America (PDCA) as a leader, speaker and mentor.

